#define PLAYER_WAIT_TIME 2000 // The time allowed between button presses – 2s
byte sequence[100]; // Storage for the light sequence
byte curLen = 0; // Current length of the sequence
byte inputCount = 0; // The number of times that the player has pressed a (correct) button in a given turn
byte lastInput = 0; // Last input from the player
byte expRd = 0; // The LED that’s suppose to be lit by the player
bool btnDwn = false; // Used to check if a button is pressed
bool wait = false; // Is the program waiting for the user to press a button
bool resetFlag = false; // Used to indicate to the program that once the player lost
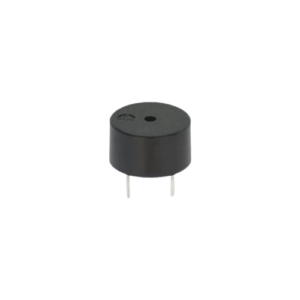
byte soundPin = 5; // Speaker output
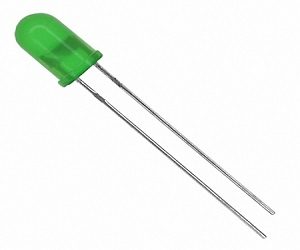
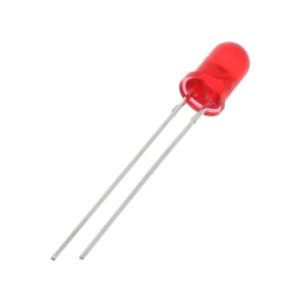
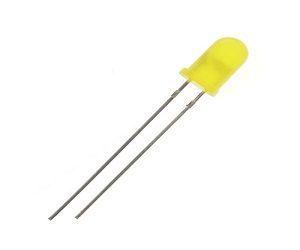
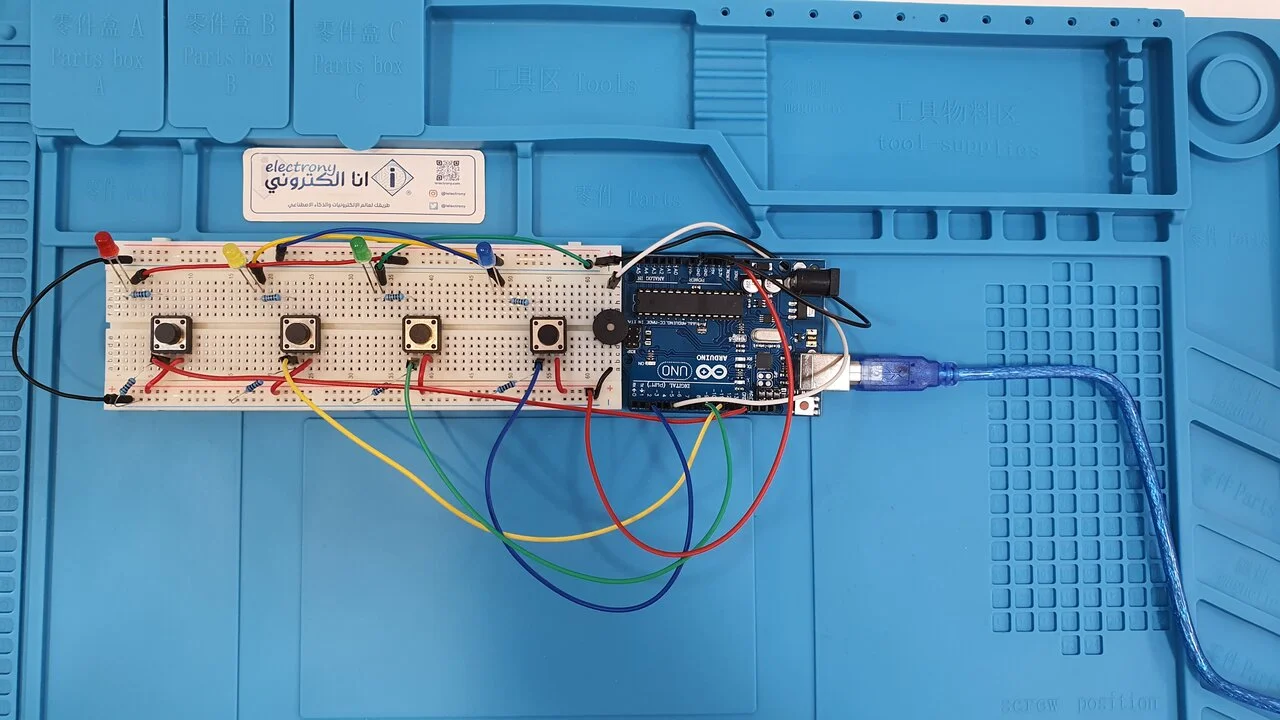
byte noPins = 4; // Number of buttons/LEDs (While working on this, I was using only 2 LEDs)
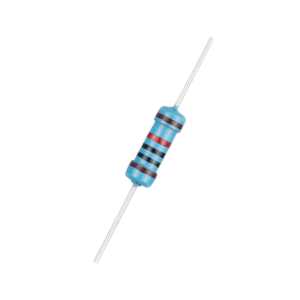
// You could make the game harder by adding an additional LED/button/resistors combination.
byte pins[] = {2, 13, 10, 8}; // Button input pins and LED ouput pins – change these vaules if you wwant to connect yourbuttons to other pins
// The number of elements must match noPins below
long inputTime = 0; // Timer variable for the delay between user inputs
void setup() {
delay(3000); // This is to give me time to breathe after connection the arduino – can be removed if you want
Serial.begin(9600); // Start Serial monitor. This can be removed too as long as you remove all references to Serial below
Reset();
}
///
/// Sets all the pins as either INPUT or OUTPUT based on the value of ‘dir’
///
void setPinDirection(byte dir){
for(byte i = 0; i < noPins; i++){
pinMode(pins[i], dir);
}
}
//send the same value to all the LED pins
void writeAllPins(byte val){
for(byte i = 0; i < noPins; i++){
digitalWrite(pins[i], val);
}
}
//Makes a (very annoying 🙂 beep sound
void beep(byte freq){
analogWrite(soundPin, 2);
delay(freq);
analogWrite(soundPin, 0);
delay(freq);
}
///
/// Flashes all the LEDs together
/// freq is the blink speed – small number -> fast | big number -> slow
///
void flash(short freq){
setPinDirection(OUTPUT); /// We’re activating the LEDS now
for(int i = 0; i < 5; i++){
writeAllPins(HIGH);
beep(50);
delay(freq);
writeAllPins(LOW);
delay(freq);
}
}
///
///This function resets all the game variables to their default values
///
void Reset(){
flash(500);
curLen = 0;
inputCount = 0;
lastInput = 0;
expRd = 0;
btnDwn = false;
wait = false;
resetFlag = false;
}
///
/// User lost
///
void Lose(){
flash(50);
}
///
/// The arduino shows the user what must be memorized
/// Also called after losing to show you what you last sequence was
///
void playSequence(){
//Loop through the stored sequence and light the appropriate LEDs in turn
for(int i = 0; i < curLen; i++){
Serial.print(“Seq: “);
Serial.print(i);
Serial.print(“Pin: “);
Serial.println(sequence[i]);
digitalWrite(sequence[i], HIGH);
delay(500);
digitalWrite(sequence[i], LOW);
delay(250);
}
}
///
/// The events that occur upon a loss
///
void DoLoseProcess(){
Lose(); // Flash all the LEDS quickly (see Lose function)
delay(1000);
playSequence(); // Shows the user the last sequence – So you can count remember your best score – Mine’s 22 by the way 🙂
delay(1000);
Reset(); // Reset everything for a new game
}
///
/// Where the magic happens
///
void loop() {
if(!wait){
//****************//
// Arduino’s turn //
//****************//
setPinDirection(OUTPUT); // We’re using the LEDs
randomSeed(analogRead(A0)); // https://www.arduino.cc/en/Reference/RandomSeed
sequence[curLen] = pins[random(0,noPins)]; // Put a new random value in the next position in the sequence – https://www.arduino.cc/en/Reference/random
curLen++; // Set the new Current length of the sequence
playSequence(); // Show the sequence to the player
beep(50); // Make a beep for the player to be aware
wait = true; // Set Wait to true as it’s now going to be the turn of the player
inputTime = millis(); // Store the time to measure the player’s response time
}else{
//***************//
// Player’s turn //
//***************//
setPinDirection(INPUT); // We’re using the buttons
if(millis() – inputTime > PLAYER_WAIT_TIME){ // If the player takes more than the allowed time,
DoLoseProcess(); // All is lost 🙁
return;
}
if(!btnDwn){ //
expRd = sequence[inputCount]; // Find the value we expect from the player
Serial.print(“Expected: “); // Serial Monitor Output – Should be removed if you removed the Serial.begin above
Serial.println(expRd); // Serial Monitor Output – Should be removed if you removed the Serial.begin above
for(int i = 0; i < noPins; i++){ // Loop through the all the pins
if(pins[i]==expRd)
continue; // Ignore the correct pin
if(digitalRead(pins[i]) == HIGH){ // Is the buttong pressed
lastInput = pins[i];
resetFlag = true; // Set the resetFlag – this means you lost
btnDwn = true; // This will prevent the program from doing the same thing over and over again
Serial.print(“Read: “); // Serial Monitor Output – Should be removed if you removed the Serial.begin above
Serial.println(lastInput); // Serial Monitor Output – Should be removed if you removed the Serial.begin above
}
}
}
if(digitalRead(expRd) == 1 && !btnDwn) // The player pressed the right button
{
inputTime = millis(); //
lastInput = expRd;
inputCount++; // The user pressed a (correct) button again
btnDwn = true; // This will prevent the program from doing the same thing over and over again
Serial.print(“Read: “); // Serial Monitor Output – Should be removed if you removed the Serial.begin above
Serial.println(lastInput); // Serial Monitor Output – Should be removed if you removed the Serial.begin above
}else{
if(btnDwn && digitalRead(lastInput) == LOW){ // Check if the player released the button
btnDwn = false;
delay(20);
if(resetFlag){ // If this was set to true up above, you lost
DoLoseProcess(); // So we do the losing sequence of events
}
else{
if(inputCount == curLen){ // Has the player finished repeating the sequence
wait = false; // If so, this will make the next turn the program’s turn
inputCount = 0; // Reset the number of times that the player has pressed a button
delay(1500);
}
}
}
}
}
}

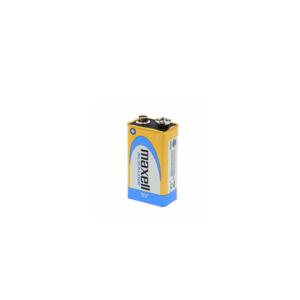
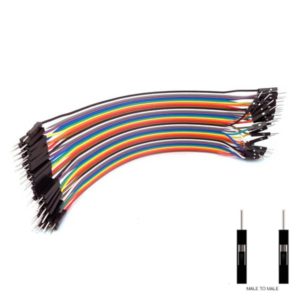
 البطاريات وملحقاتها, أسلاك وتوصيلات, جميع المنتجات